I just got back from my very first trip to Las Vegas yesterday. I went with my best friend, who lives over 1000 miles away from me, and our plan was to see the Britney Spears concert. We had a great time indeed, but I realized when I got home last night that I barely ate a single vegetable while I was there! I kept it gluten-free so I wouldn't feel sick, but most meals were served with potatoes for a side instead of some healthy greens. So now that I am home, all I want to eat are some vegetables and definitely some probiotics! Thankfully I have some homemade sauerkraut on hand to give me both!
I had never made my own sauerkraut before I started dating my boyfriend. I didn't really even eat it that often at all, except maybe on a bratwurst at the fair every few years. But when I started dating my boyfriend, who is Polish, I wanted to try my hand out at making some sauerkraut for him. It is really VERY simple, it just takes a few weeks of fermenting in the cupboard. I even made a jar for his parents and they liked it so much they asked for the recipe! When you can please the native sauerkraut eaters with your recipe, you know you've won!
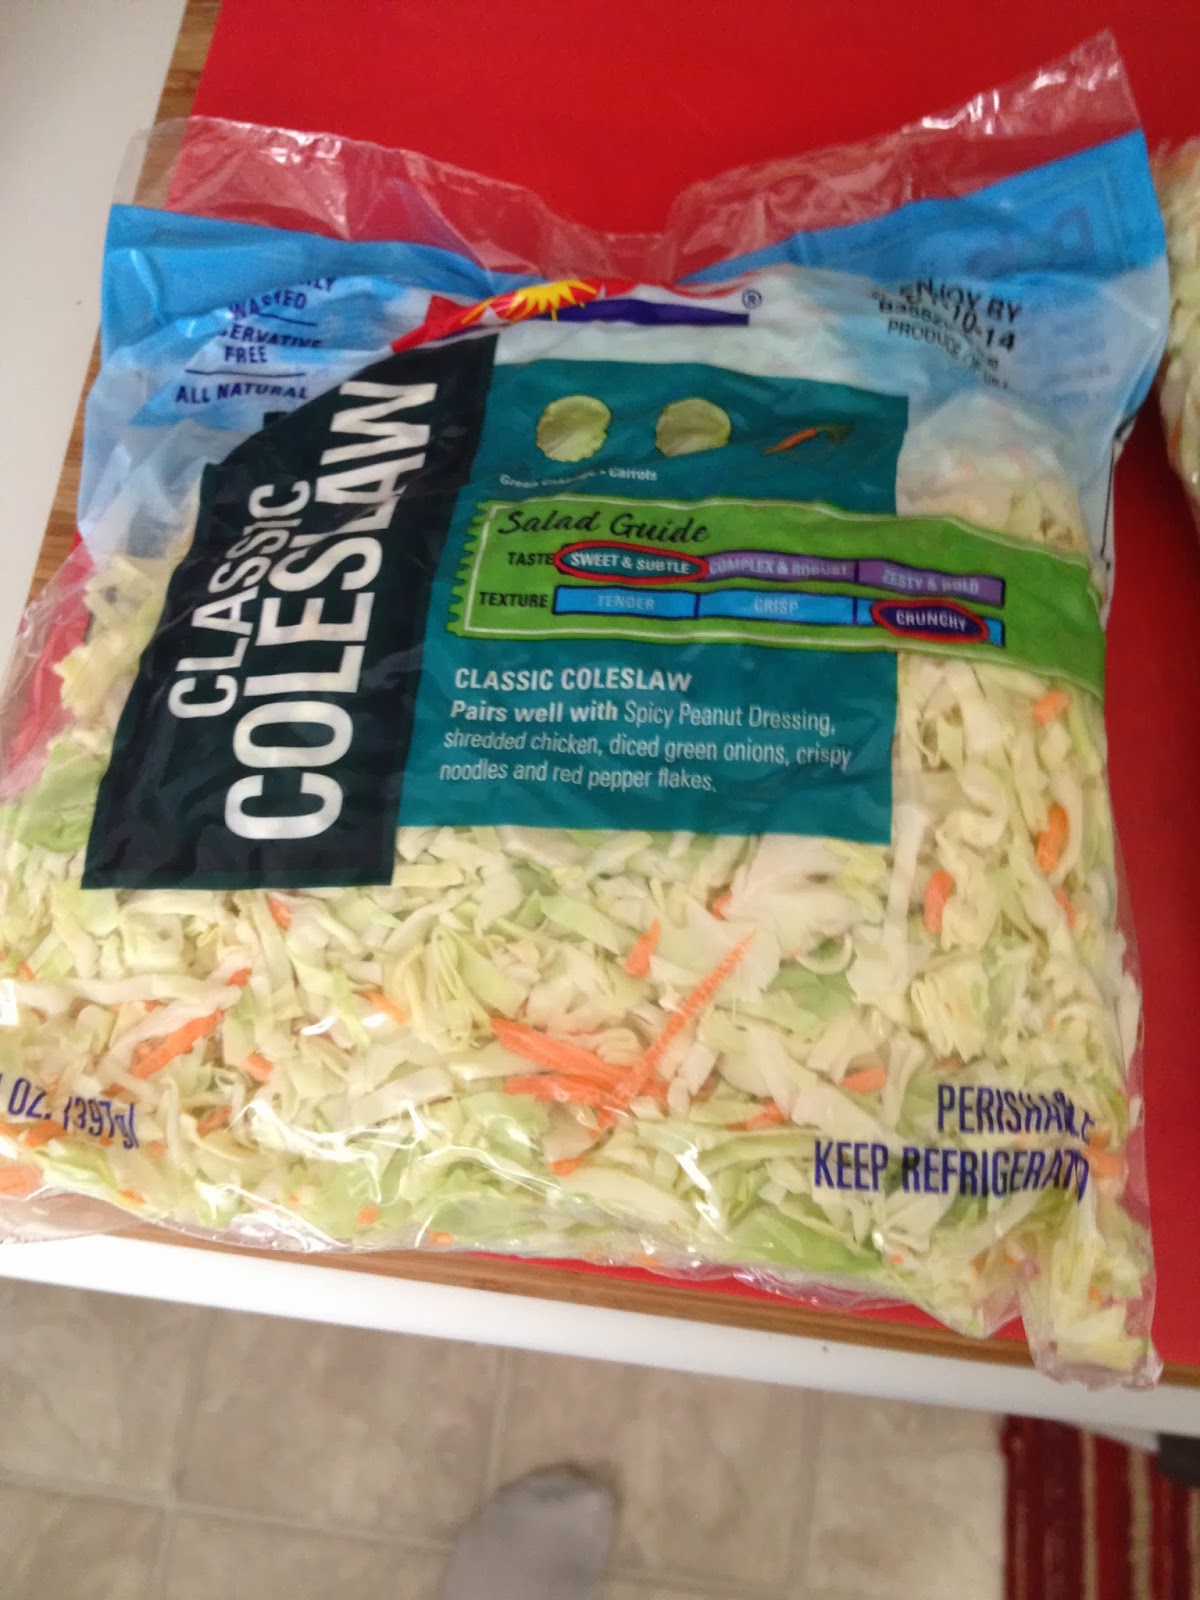
I took the easy way on this recipe by using bagged coleslaw mix instead of chopping/shredding my own cabbage and carrots. The bags run about $1.50-$2.00 each, so if you would prefer to chop it yourself, you can make this recipe for about $1! How crazy is that?
Ingredients
1) 3 bags of coleslaw mix (minus the dressing), or 2 heads of cabbage (shredded), plus 2 carrots (shredded)
2) 1/2 tablespoon + 2 teaspoons of salt
3) 2 cups of water
Optional: I've added in 1 shredded apple before, or 1 diced jalapeno, or used both green and red cabbage.
Makes: 2 large mason jars of sauerkraut (32oz each)
**I recommend using the wide mouth mason jars
Instructions
1) Shred your cabbage/carrots if you did not buy the prepacked bag.
2) Add the shredded vegetables to a large bowl, and sprinkle with 1/2 tablespoon of salt.
3) Let sit for 15 minutes, during which the cabbage will begin to wilt and release a little water.
 |
| After sitting with the salt on it |
4) Squeeze your shredded vegetables to try and release some additional water.
5) Pack your vegetables into two large mason jars, pushing down firmly to compact. Fill up both mason jars with your vegetables until you run out. Make sure the jars are even, they should both be about 3/4 of the way full.
 |
| Compacting the cabbage |
6) Mix 2 cups of water with 2 teaspoons of salt to create a water brine. Pour into each mason jar until the water now is above the cabbage, at least 1/2 an inch. You may have some leftover water brine. If you need more, just make another batch of water brine following 1 cup water: 1 teaspoon salt.
 |
| Filled with water above the cabbage |
7) Using a smaller lid for a mason jar, or a large piece of cabbage, or whatever you have, press down the cabbage inside the jar until it is compact and virtually no cabbage pieces are above the water. Then find something to weigh this down (I used a heavy shot glass). This keeps the cabbage under the water level and out of the oxygen, so it will ferment. Cabbage that touches the air will mold, cabbage under the water will not.
 |
| Weighing it down |
8) Place in a cabinet to ferment.
 |
| See how the cabbage is way below the water because of the lid and weight? |
9) Check on your cabbage every 2-3 days and scrap off any mold that may have occurred. This mold is totally natural and just needs to be removed. The rest of the cabbage is fine, I promise!
10) After 2 weeks of fermenting, every time you check for mold and scrap it off, taste your mixture. Does it taste like sauerkraut, and to your liking? If not, let it sit longer. (Due to the cold water, mine took almost a month to ferment this time. Normal summer weather will be about 2-3 weeks of fermenting).
11) Once the sauerkraut tastes to your liking, remove your lid and weight and put a lid on the jar. Store in the fridge. Enjoy!


