Monday, September 23, 2013

Zucchini-Noodle Lasagna

Zucchini was finally on sale at the store today. This made me very happy! Zucchini is an awesome substitute for noodles in a lot of dishes, and while we often use our spiral slicer and make spaghetti noodles with it, zucchini is equally as delicious when used as lasagna noodles.

This recipe is an adaptation of a version that I read about here. But I adjusted it to make it dairy free, 5 ingredients, and a bit easier.

This dinner here was insanely delicious, and we couldn't believe how tasty the zucchini noodles were in here! Cooking them first with the egg/almond flour mixture made a huge difference and make the zucchini doughy and tender.

For a comforting dinner, or an even tastier next day leftovers for lunch----if you have any left! We've even frozen half the recipe and it reheated deliciously. So stock up your freezer, stalk up your fridge!

Ingredients
1) 2 pounds of ground meat (we used beef, but sausage would be delicious too, or ground turkey, etc)
2) 6 eggs
3) 1.5-2 cups of almond flour (I always recommend Honeyville brand)
4) 2 cans of tomato sauce (14oz) -- or you can make your own. I just always have tomato sauce on hand, and find it a lot easier! Get a good, organic one if you can. We buys ours in bulk at Costco.
5) About 6 large zucchinis (3-4 pounds)
(Extra: You could add cheese if you do dairy, and you can also add in some Italian seasoning and garlic to the canned tomato sauce to flavor it more if you want)

Instructions
1) Preheat oven to 400 degrees
2) This will be easier with a mandolin, but if you don't have one, you can use a sharp nice. Cut off the ends of your zucchini, and cut the zucchini into 1/4 inch thick slices. Try to make them as even as possible.
Sliced zucchini
3) Get out two pie pans or bowls to put your breading materials in. This will make it a lot easier. Add your eggs to one dish and beat until smooth. Add your almond flour to the other pan. (Note: If you want to add extra spices to your almond flour, here's when to do it. You could add garlic powder, onion powder, cayenne powder, italian seasonings, salt/pepper, etc. This will add some extra flavor to the dish, but is not necessary. I didn't, but you could!)
4) Dredge your zucchini strips into the almond flour, trying to get a light, even dusting on both sides. Then dip in the eggs, and place onto a lined cookie sheet. Continue with the rest of your zucchini. (This took 2 cookie sheets for me).
5) Place in the oven, and cook 8-10 minutes until brown on one side. Then flip over your zucchini and cook an additional 5-10 minutes until brown on both sides.
Ready to brown
Browned on both sides
6) While your zucchini is cooking, start browning your meat over medium-high heat. Once brown, you can drain off some of the fat if you'd like, but I just kept mine and it flavored the tomato sauce more. It's up to you, and depends on your tastes and how much fat your ground meat releases.
Ground beef plus tomato sauce
7) Assembly time!
8) In a 9x13 pan, or two 8x8 pans, add a small amount of your tomato sauce to coat the bottom.
9) Add the remaining tomato sauce to your pan with the meat, and stir to incorporate.
10) Add a layer of zucchini to your pan, then top with a layer of your meat/tomato sauce.
Layer 1
11) Continue alternating zucchini layers and meat layers. I was only able to do two layers of each.
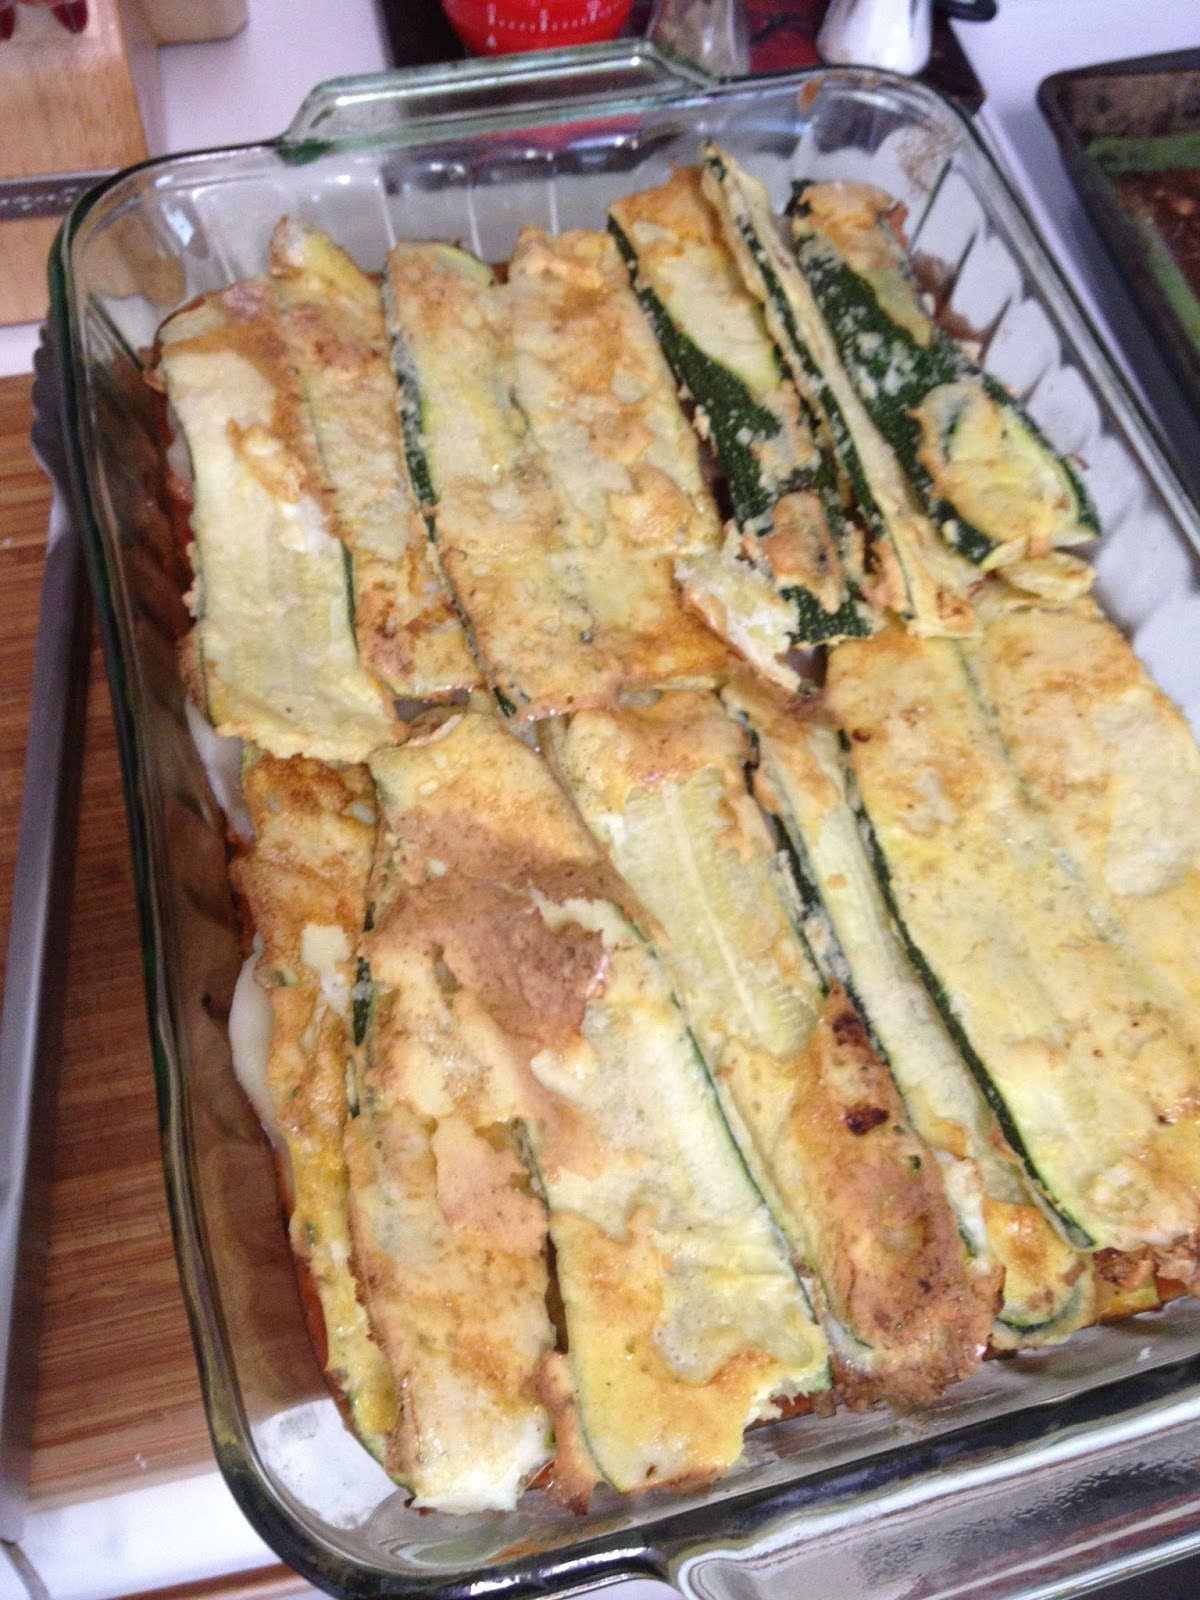
Mid-layer 2
12) You can add cheese here to the top if you'd like.
Ready to bake!
13) Place foil over your pan, and cook at 400 for 45-55 minutes, until nice and bubbly. If you added cheese, take the foil off 10 minutes before it's done cooking to brown it up.
ENJOY!
Delicious!


Friday, September 20, 2013

Fruit-Nut Coconut Rolls

Is that title confusing? You can technically make this treat with any type of dried fruit and any nut, so I didn't want to label it "Cashew Apricot Coconut Rolls" like I made them, because maybe someone doesn't like cashews and wants to make Almond ones! See how sneaky I am.....trying to get more people to check my recipes out!

Sometimes you just need something sweet, especially in my house! This was a perfect weekend snack, and it didn't last more than 10 minutes once they were made.

I have pretty much every enjoyable nut in a big jar in the pantry. Organized in little rows. Raw almonds, roasted almonds, pistachios, pecans, macadamia nuts, and especially cashews. My boyfriend could eat an entire jar of cashews in one sitting if I would let him! So I figured they would be the perfect nut to use for this treat, but it would have tasted amazing with any of them.

Don't have raisins or apricots in the house, or only have one? Use just one type of fruit for the recipe then, or use any other dried fruit you can imagine! Prunes, figs, dates, berries. We just happened to have raisins and apricots in the pantry.

Oh, and if you want to be super lazy, just mix the coconut into the mixture in the food processor and you don't even need to do the step where you roll these suckers in coconut. Win!

Ingredients (This will make about 10-15 rolls, easily half or double this recipe as needed)
1. 1 cup of nuts (I used cashews, but again, any kind will work! You can even do a mixture)
2. 1 cup of dried fruit (I used 1/2 cup raisins, 1/2 cup of apricots. Use whatever you got!)
3. 1/2 cup of shredded coconut

Instructions
1. In the food processor, mix together the nuts and the dried fruit for atleast 2 minutes, until the nuts get more like a peanut butter consistency and the whole mixture is pretty wet.
Ready for mixing!

Mixed after a few minutes
2. Place the shredded coconut on a plate. Roll out your balls of the fruit-nut mixture, and then roll the balls into the coconut.
*You can add the coconut to the food processor if you prefer, and omit step 2.*
The end! Enjoy your well-deserved treat!


Wednesday, September 18, 2013

Pumpkin Chicken Stew (Paleo, Zone)


Summer is wrapping up, which means it is time for pumpkins! We are recently trying to eat Paleo-Zone for some personal goals, so I have been trying to figure out some one-pot meals to make that incorporate everything together. So pumpkin has a lot of good, healthy carbs in it, and completes this meal out perfectly! Adding in the bulk with carrots and onions make this meal incredibly filling. So eat up----it's finally cooling down enough for a delicious warm stew at the end of the day!

Ingredients
1) 2 pounds of chicken (breasts, thighs or mixture)
2) 3 cans of pumpkin puree (about 6 cups total)
3) 1 can of coconut milk (14oz)
4) 2 large onions (4 cups chopped)
5) 8-10 large carrots, chopped (1.5 pounds)
Extra: Spices of your choosing--(I added 2 TBSP curry, 1 TBSP cinnamon and salt) 

**Zone: This will make a 24-block meal in your crockpot. I weighed it out into three 5-block meals for the boyfriend, and three 3-block meals for myself.

If you don't want to make this Zone friendly, you can adjust the pumpkin and vegetable amounts to your liking. It was a huge pot of food, for sure.

Instructions
1) Get out your slow cooker!
2) Mix three cans of pumpkin with the can of coconut milk. Add in any spices you want now.
Pumpkin and Coconut Milk mixture
3) Chop up your onions and carrots, and add to the mix.
4) Add in your chicken. No need to chop it up, it'll get shredded after cooking.
All ingredients added
5) Mix everything in your crockpot. Cook for 8-10 hours on low.
All mixed up and ready to slow cook
6) After the cooking, use two forks and shred your chicken into the stew.
Cooked & Shredded
7) Dinner time!


Sunday, September 15, 2013

Blueberry Banana Bread Scramble (Paleo, Zone)

This recipe sounds absolutely crazy, I get that. Funny thing about it, it tastes absolutely nothing like scrambled eggs, yet that's essentially what it is!

I saw a recipe while browsing some Paleo blogs and was inspired about some scrambled eggs with banana added. I decided to adjust the recipe and see if I couldn't make it more protein-friendly, and even make it Zone! If you're not doing the Zone, this recipe is still 100% Paleo and definitely worth trying out.

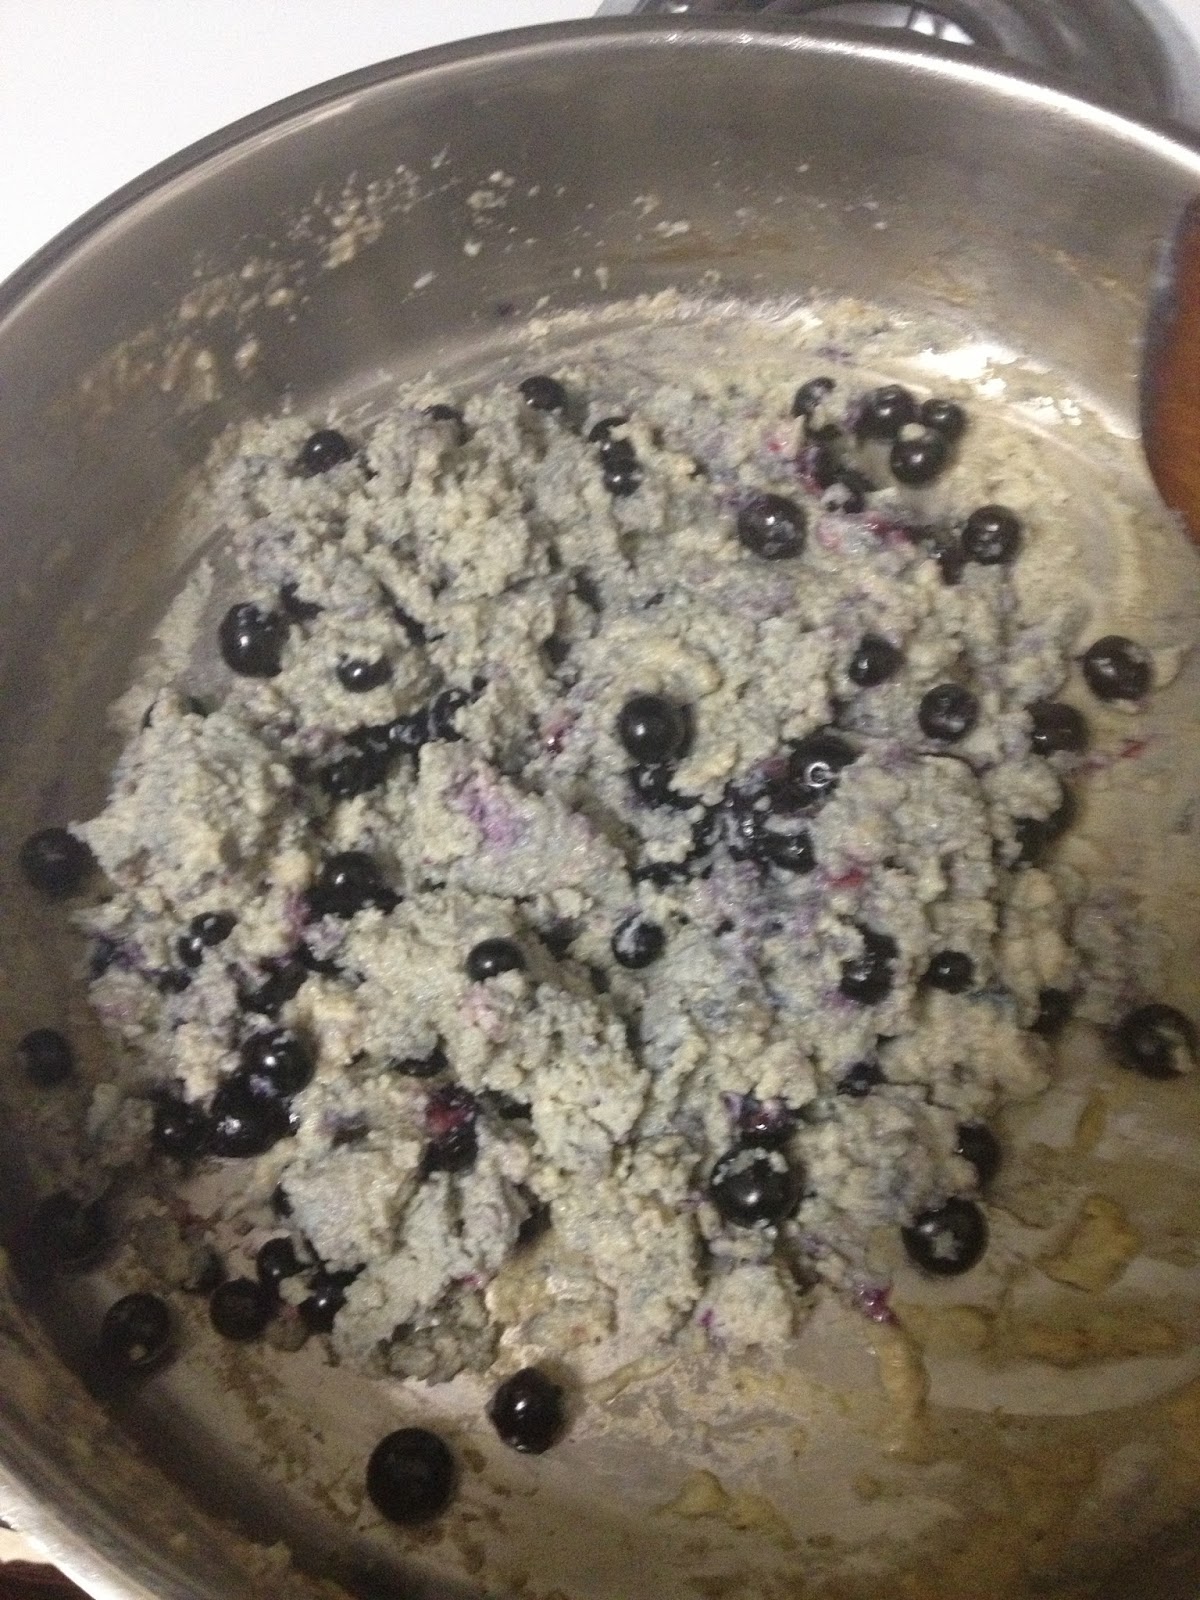
The most amazing things was that it worked out, and it tastes like banana bread! It has an oatmeal consistency, and would be delicious as leftovers as well. Definitely adding this to the weekly lineup for breakfast choices!

We are starting the national Lurong Paleo Challenge tomorrow! I'm pretty excited about it, to say the least. Anyone else joining us? I have been cooking up all weekend to prep us meals for the week. 3-2-1-Go!

Ingredients
1) 8 eggs (Zone: 8P)
2) 2 ripened bananas (Zone: 6C)
3) 1 cup blueberries (Zone: 2C)
4) 3 Tablespoons Almond Flour (Zone: 6F)
5) 1 teaspoon oil for the pan (Zone: 2F)

Makes 8 blocks. We divided it up to a 3 block and 5 block meal for me and my boyfriend. But you could divide it into four 2-block meals, or even round up to three 3-block meals. That's breakfast for half the week!

Instructions
1) Heat a large skillet over medium-medium low heat.
2) Add bananas, eggs and almond flour to a food processor or blender. Blend until smooth.
Eggs, Bananas and Almond Flour in the food processor
3) Fold in blueberries to incorporate.
Blueberries added
4) Add oil to the pan, and add in your egg/banana mixture.
Starting to cook
5) Stir slowly, as if making scrambled eggs, until cooked to desired consistency.
6) Eat up!

All cooked up!

Ready to eat!

Friday, September 13, 2013

Protein-Packed Fruit Jello

Back when I used to do calorie-counting, I would eat sugar free Jello all the time, with some sugar free whipped cream on top. Definitely not healthy, and in no way was it good for my body with all those chemicals!

Enter unflavored gelatin. This product is great! I had read some of the amazing benefits of it (hello joint care!) plus it's almost pure protein, so it makes these delicious treats into a nice protein booster!

You could absolutely make these with any kind of fruit/juice you want. We happened to have peaches in the freezer, so that's what I tried. Definitely want to make a million varieties now!

You can choose to let these harden in cute little molds like I did (I love portion control!) or you can pour it into a cooking pan and just cut pieces out like that.

We are definitely starting to eat a few of these cubes a day, and we know we are giving ourselves a good, healthful and beneficial treat!

Ingredients
1) 1/2 cup of pureed fruit or fruit juice (measured after you puree)
2) 1/2 cup of citrus juice (lemon, lime, orange...)
3) 3 Tablespoons of unflavored gelatin (use the red bottle of Great Lakes brand---bought it on Amazon). See the picture below.

Instructions
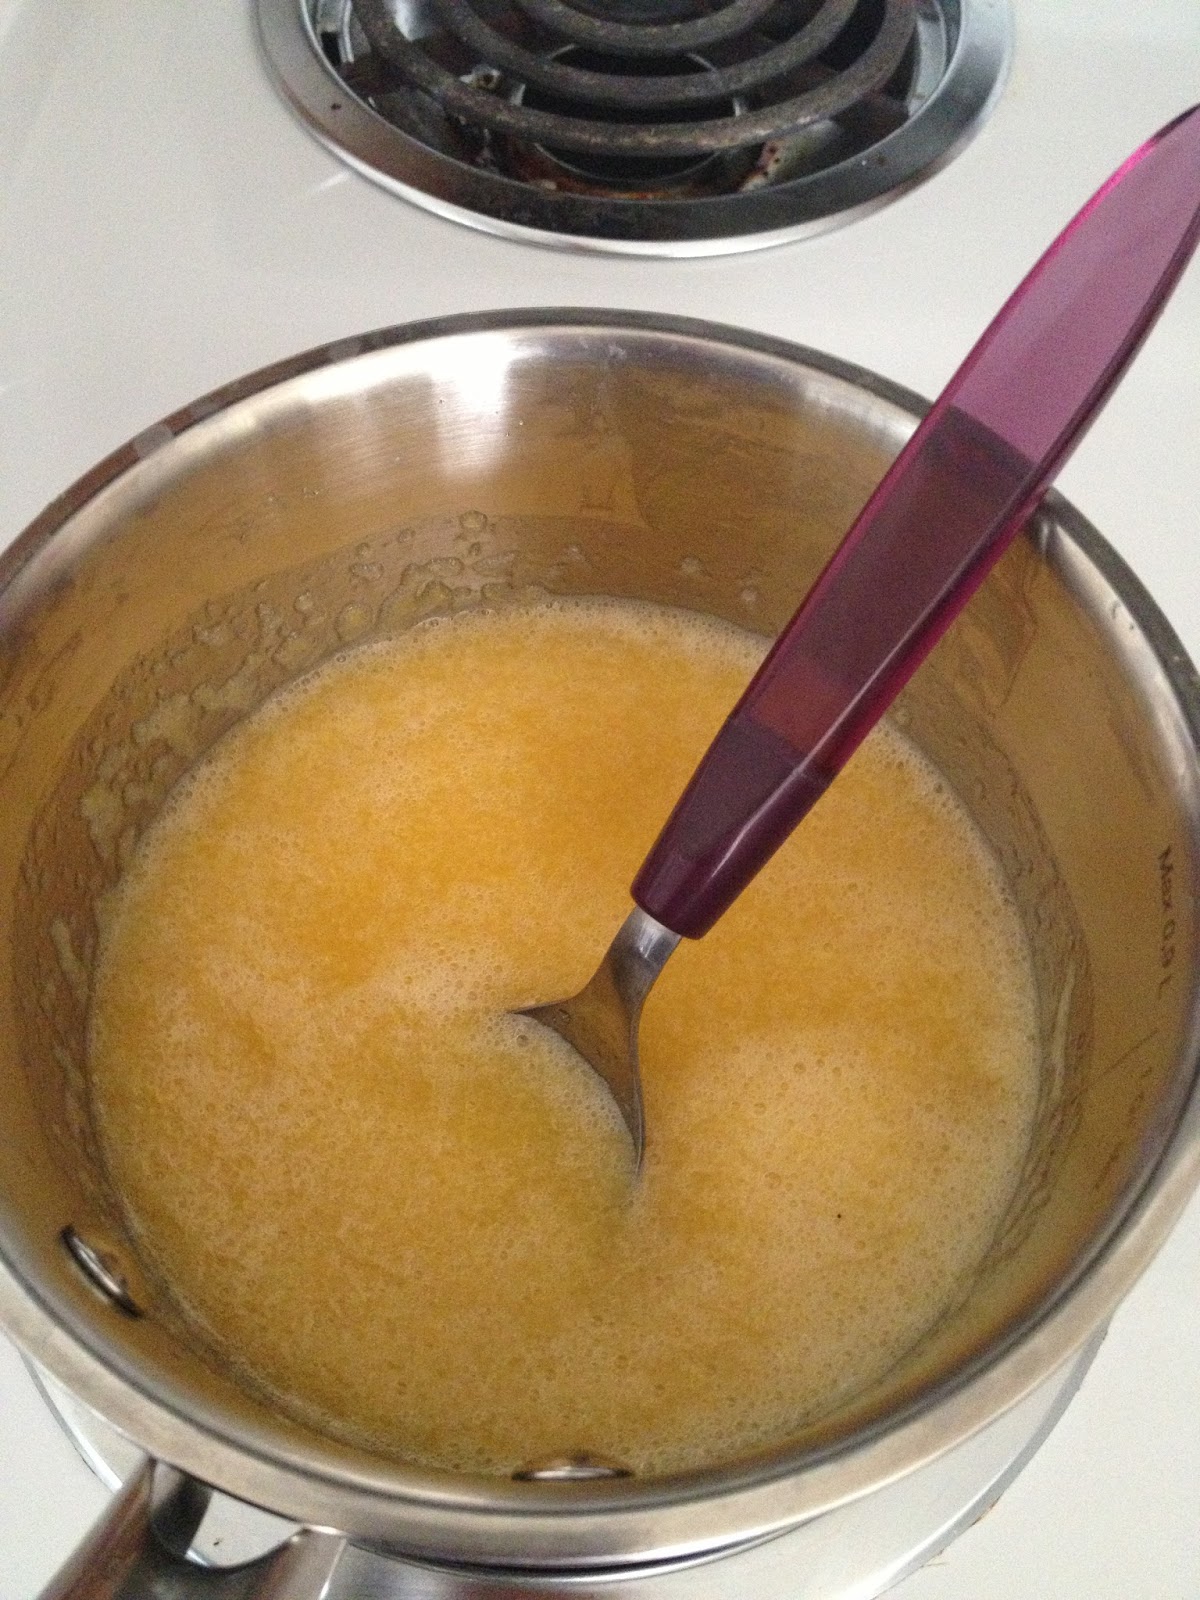
1) Warm up your fruit and juice in a small pot, over medium-low heat.
Fruit & Juice puree, heating up
2) Once warmed through (about 5 minutes), add in your gelatin. Whisk vigorously to incorporate all of your gelatin or you will get little white specks in it.
Awesome, healthy gelatin---good for your body!
Adding the gelatin in
3) Keep on the heat for 1-2 minutes while you whisk and the gelatin incorporates.
4) Pour into your molds or your pan, and place in the refrigerator to set, approximately 3-4 hours.
5) Eat these jewels and help out your joints!
Ready for the fridge!

All done! 

Friday, September 6, 2013

Banana Coconut Cookies

Confession time: my boyfriend and I have giant sweet tooths, and we are nighttime munchers. We are trying to break the habit as much as possible, but these cookies are something we can have and not feel totally terrible about them!

I guess technically I should call these Banana Apple Coconut cookies, but that just seems excessive. How about Banana Apple Coconut Almond cookies? That's 4 out of the 5 ingredients in the title. Nobody would click on that link, I'm pretty sure. But somehow, here you are. So I am clearly doing something right! :)

These cookies are insanely easy, and you could absolutely add other ingredients to them if you want, like chocolate chips or other nuts or dried fruit. These are really just a delicious, easy, healthy base for whatever you can imagine. So get cooking!

Ingredients
1) 1 apple, cored and diced (I used fuji because that's all we buy)
2) 1 banana, semi to fully ripe (the riper, the sweeter the cookie)
3) 1 cup of nuts (I used unsalted almonds, you could literally use ANY. Salted ones will give a slightly different flavor in this cookie but still delicious)
4) 1 cup of unsweetened shredded coconut
5) 2 eggs

Instructions
1) Preheat oven to 350 degrees.
All your ingredients
2) In a food processor or high-tech blender, add the eggs, banana and apple and blend until mostly smooth.
3) Add in your nuts and coconut and puree until all the lumps are out and you have a uniform consistency.
***Note: I decided to just add everything to the food processor at once. And then it wouldn't blend, so I had to take half of it out and blend it and then add it back in. Don't be like me!***
Ready to blend
All mixed up
4) Scoop your dough onto a greased cookie sheet or a silicone mat. Press down the cookies to make them more flat. They won't really rise so you can put them close together.
Baking time!
5) Cook for 18-30 minutes until they are hard to the touch and slightly brown (this took me about 25 minutes, just keep checking on them).

All done cooking 
Delicious!

Tuesday, September 3, 2013

Sugar-Free Paleo Beef Jerky


I'm going to admit something right now. I love Paleo....but I absolutely HATE hard boiled eggs. Gross! Something about that separated yolk just doesn't do it for me. So I have had to come up with other ways to get some quick, transport-friendly food to bring along. I made a big bunch of this jerky before we left for our summer vacation to Florida and it was awesome for the car rides!

I have yet to find a good jerky source that doesn't have gross chemical and preservatives in it, or isn't $152/pound.

Enter the best idea ever: MAKE YOUR OWN!

Seriously, this really is not very difficult at all, I promise! Plus you can season it however you want, and you can buy your meat in bulk so it's cheaper! We buy Flank steak from Sam's/Costco for about $4/pound. Have you ever bought beef jerky for that cheap? No way!

Ingredients
1) 2-4 pounds of lean flank steak or london broil
2) 1/4 cup of coconut aminos (to simulate the soy sauce taste)
3) 1 teaspoon of (all natural) liquid smoke
4) 1 tablespoon chili powder
5) 1 tablespoon onion powder
(You could add more spices if you want to, like garlic powder or cayenne but then it won't be 5 ingredients. It's delicious regardless!)

Instructions
1) Half-way freeze your steak. Trust me, this will make it a lot easier to slice.
Flank Steak, slightly frozen
2) Cut your flank steak AGAINST the grain into even thickness pieces.
3) Trim off any excess fat that you find, as it can make your jerky spoil quicker.
Sliced up
4) Throw your sliced meat into a ziplock bag or a container.
5) Mix together your coconut aminos, liquid smoke, and spices in a bowl. Add the spices to the bag of meat, close it, and then use your hands to incorporate the mixture evenly inside the bag.
The Spices
6) Let the meat marinate in the fridge for at least an hour. I usually leave it overnight or even up to 2 days when I forgot about it. Whoops!
....and marinate!
7) Take out your food dehydrator. Place your meat strips onto the trays, making sure they don't touch.
Post-cooking
8) Cook in the dehyrator on the meat setting (160 degrees) for 3-6 hours, until the jerky is the texture you like. I like my cooked ALL THE WAY, so I always do it about 5 hours. Just taste it after a few hours, and get it to where YOU want it to be.
9) Remove from dehydrator, and package however you want. I put most in the freezer, and grab a small individual serving out and it usually defrosts by the time I want to eat it later that day. Should store in the fridge for at least a week without spoiling.
And enjoy :)